
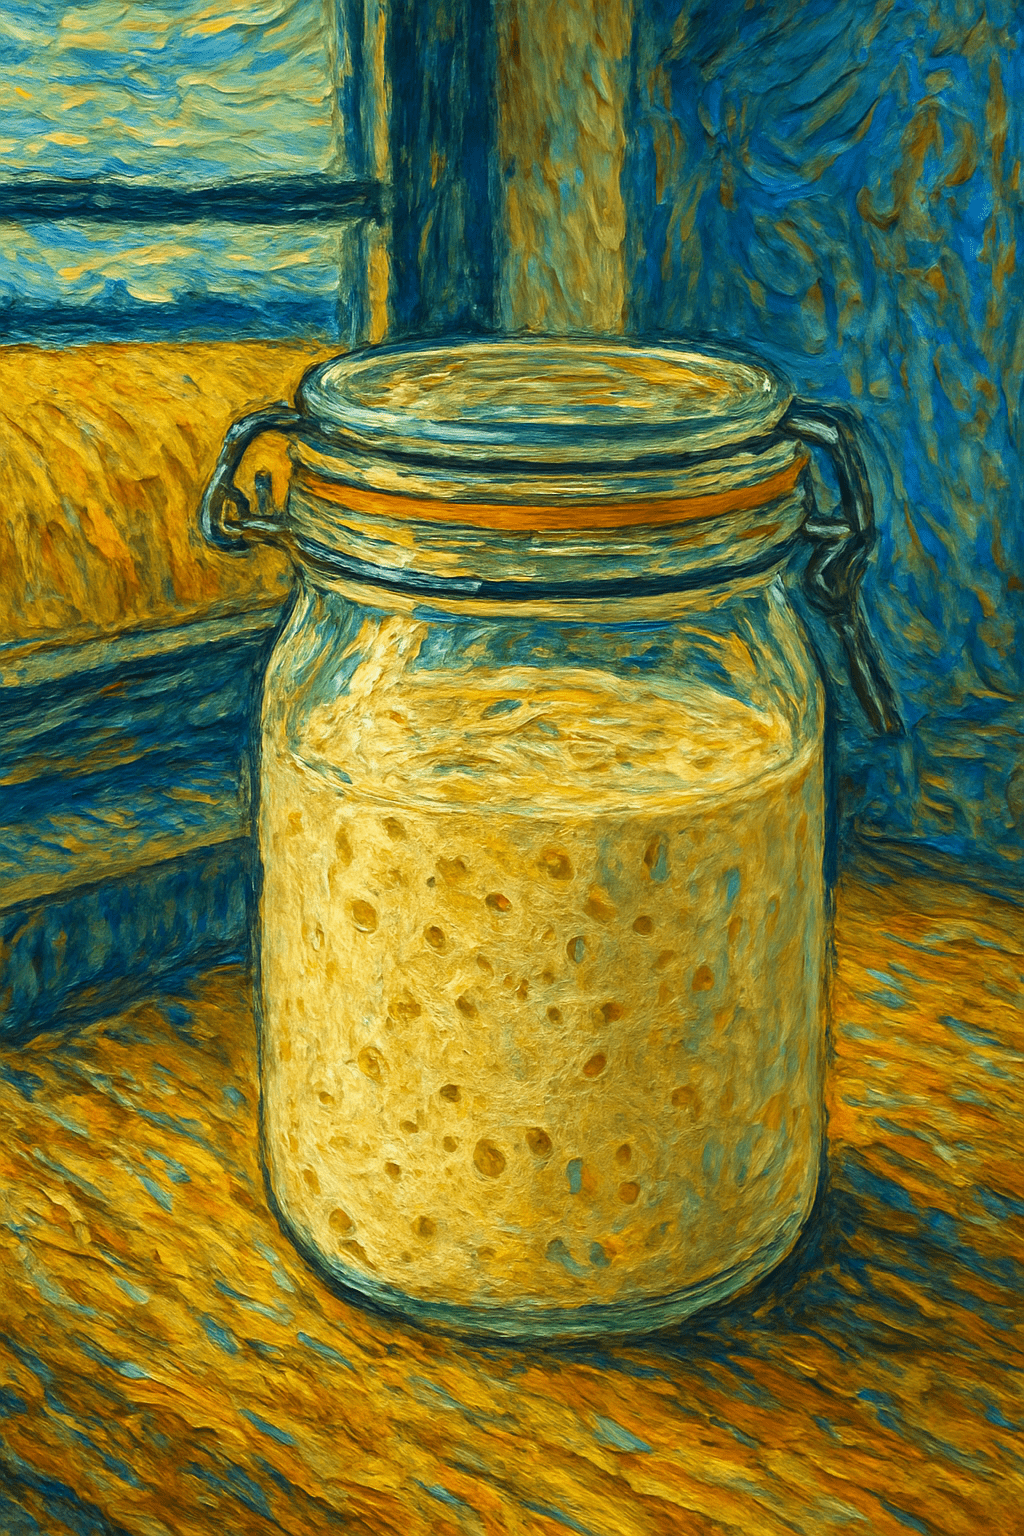
A Guide to Bringing Your Sourdough Masterpiece to Life
The beauty of sourdough is that it’s alive, always evolving, always teaching
Chad robertson, Tartine Bread
Welcome, fellow artist, to the beautiful and rewarding world of sourdough baking. You hold in your hands not just a kit, but the beginning of a living creation. Your starter is a canvas, and with a little patience and care, you will cultivate it into a bubbling masterpiece ready for countless delicious bakes.
Let’s begin this journey together.
Your Artist’s Toolkit
- The Weck Jar: This is your starter’s home, its studio. It’s the perfect vessel for watching the magic happen.
- The Mini Silicone Spatula: Your paintbrush. Use it to mix your flour, water, and starter with the gentle care of an artist.
- The Rubber Band: Your marker of progress. Place it around the jar at the level of your starter after each feeding to see how much it grows.
- Dehydrated Starter (20g): The spark of life. This packet contains a dormant colony of wild yeast and bacteria. You will only need 5g to begin your journey. Save the rest as a backup, or gift it to a fellow aspiring baker!
From Your Pantry Palette
Before you begin, you’ll need a few simple ingredients:
- Unbleached Bread Flour: This is the food for your creation. We recommend using our flour, Vincent’s Custom Blend, or another high-quality Canadian brand like Rogers, for the best results.
- Filtered Water: To keep your starter pure and happy. Avoid tap water if it’s heavily chlorinated.
- A Kitchen Scale: The most crucial tool for an artist seeking consistency. Precision is key in the art of baking.
The Re-Awakening: A 5-Day Guide
Follow these steps to bring your dormant starter to its full, bubbling potential.
Day 1: The First Brushstroke
(Morning)
- In your Weck jar, combine 5g of the dehydrated starter with 25g of warm filtered water (around 100°F/38°C).
- Stir with your spatula until the dried flakes are fully submerged.
- Cover the jar and let it rest for one hour.
- After the hour, add 20g of unbleached bread flour. Mix until no dry spots remain. The consistency will be a bit thinner than you might expect; this helps encourage activity.
- Scrape down the sides, cover, and place your jar in a warm spot (around 76°F/24°C) for 24 hours. Place the rubber band at the starter’s level.
Day 2: Developing the Canvas
(Morning)
- Artist’s Note: Your mixture will look smooth and fairly lifeless. You may see no bubbles at all. This is perfectly normal.
- Keep 10g of your starter mixture in the jar. Discard the rest.
- Feed your starter with 25g of unbleached bread flour and 25g of room-temperature filtered water.
- Mix thoroughly, cover, and let it rest in its warm spot for another 24 hours. Move the rubber band to the new level.
Day 3: Adding Texture
(Morning)
- Artist’s Note: Today, you might notice the texture is slightly thinner and a few tiny bubbles may appear on the surface. Patience is part of the art.
- Repeat the Day 2 feeding process: Keep 10g of starter, discard the rest, and feed with 25g flour and 25g water.
- Mix, cover, and let rest for 24 hours. Adjust your rubber band.
Day 4: Glimmers of Life
(Morning)
- Artist’s Note: Very little has changed from yesterday, but a few more small bubbles may be visible. Your creation is stirring.
- Repeat the Day 2 feeding process one more time.
(Evening – about 12 hours later)
- Artist’s Note: Peek at your jar. You should now see many more small bubbles on the surface and along the sides. Your rubber band marker should show that the starter is beginning to rise slowly. The magic is beginning!
Day 5: The Masterpiece Awakens!
(Morning)
- Artist’s Note: Your creation is alive! The mixture should have risen significantly, perhaps even doubled. It will be full of bubbles, big and small, and have a pleasantly fermented aroma. Wait for it to reach its highest point (peak activity) before feeding.
Congratulations! Your starter is now revived and ready for a regular feeding schedule. You are on the cusp of baking!
Maintaining Your Creation
Your living artwork now needs regular nourishment to stay strong.
- Daily Feeding: Once a day (or twice if your kitchen is very warm and it’s very active), repeat the feeding process: Keep 5-10g of starter and feed it with 25g of unbleached bread flour and 25g of room-temperature water.
- Adjusting for Your Studio: You’ll learn your starter’s unique rhythm. The ratio and timing can be adjusted to fit your environment and baking schedule.
Scaling Up for Baking
When a recipe calls for a specific amount of active starter (e.g., 100g), you’ll perform a larger feeding to build up the amount you need. Here’s how you can turn your small amount of maintained starter into enough for a loaf of bread.
Example: Building to 100g of Active Starter
- The night before you plan to mix your dough, take 10g of your mature starter.
- In a clean jar, feed it with 50g of unbleached bread flour and 50g of room-temperature water.
- Mix thoroughly. This will give you a total of 110g.
- Let it rest in its warm spot for 8-12 hours, or until it has peaked (doubled or tripled in size and is full of bubbles).
- The next morning, take out the 100g of active starter you need for your recipe. The remaining 10g is what you will keep and feed as usual to maintain your starter for the next bake.
Your First Masterpiece: A Basic Sourdough Loaf
The Composition (Ingredients):
- 500g Unbleached Bread Flour
- 325g Filtered Water (lukewarm)
- 100g Active, Bubbly Sourdough Starter
- 10g Fine Sea Salt
The Method (Instructions):
- Autolyse: In a large bowl, mix the 500g flour and 325g water until no dry bits remain. Cover and let rest for 1 hour. This helps the flour absorb the water and makes the dough easier to work with.
- Mix: Add your 100g active starter to the dough and use wet hands to dimple and fold it into the mixture until incorporated. Cover and rest for 30 minutes. Add the 10g salt and mix again thoroughly.
- Bulk Fermentation (The First Rise): Let the dough rise in a warm spot for 4-6 hours. For the first 2 hours, perform a set of “stretch and folds” every 30 minutes. To do this, grab a section of the dough with a wet hand, stretch it upwards, and fold it over the top of the dough. Rotate the bowl and repeat 3 more times. After 4 sets of folds, let the dough rest, covered, for the remaining time until it’s airy and has risen by about 50%.
- Shape: Gently transfer the dough to a lightly floured surface. Pre-shape it into a gentle round (a boule) and let it rest for 20-30 minutes. Then, perform your final shaping, creating surface tension. Place the dough seam-side up into a floured banneton or a bowl lined with a floured tea towel.
- Final Proof (The Second Rise): Cover the dough and place it in the refrigerator for 12-18 hours (overnight). This cold proof develops the classic sourdough flavour.
- Bake: Place a Dutch oven in your oven and preheat to 500°F (260°C). Once hot, carefully remove the dough from the fridge and turn it out onto a piece of parchment paper. Score the top with a sharp blade. Carefully place the dough into the hot Dutch oven, cover with the lid, and bake for 20 minutes.
- Finish Baking: Remove the lid, reduce the oven temperature to 450°F (230°C), and bake for another 20-25 minutes, or until the crust is deep golden brown.
- Cool: Allow the loaf to cool completely on a wire rack (at least 2 hours) before slicing. This step is essential for the final texture of your masterpiece!
Happy Baking, Artist!
Bake Beautifully. – The Vincent van Dough Baking Co.